My fourth-year ray tracer project
Even back then, I loved pool
When I attended the University of Waterloo 20-ish years ago, all of the Computer Science undergrads, myself included, feared the so-called “Big 3,” courses that were so hard as to drive students mad: Real-time Programming, Compilers, and Computer Graphics.
When it came time to select my courses for fourth year, I knew I wanted to try one of them. I had a friend who dreamed of one day working on video games, so we decided to take the Graphics course together.
The final project involved creating a ray tracer. After feverishly writing code for weeks, and a lot of time waiting for images to render, the final submission took the form of an image gallery. I remember being very proud of what I’d made. I still have all of the files, and there’s no point keeping them hidden in the digital attic, so here I present my final project for CS488.
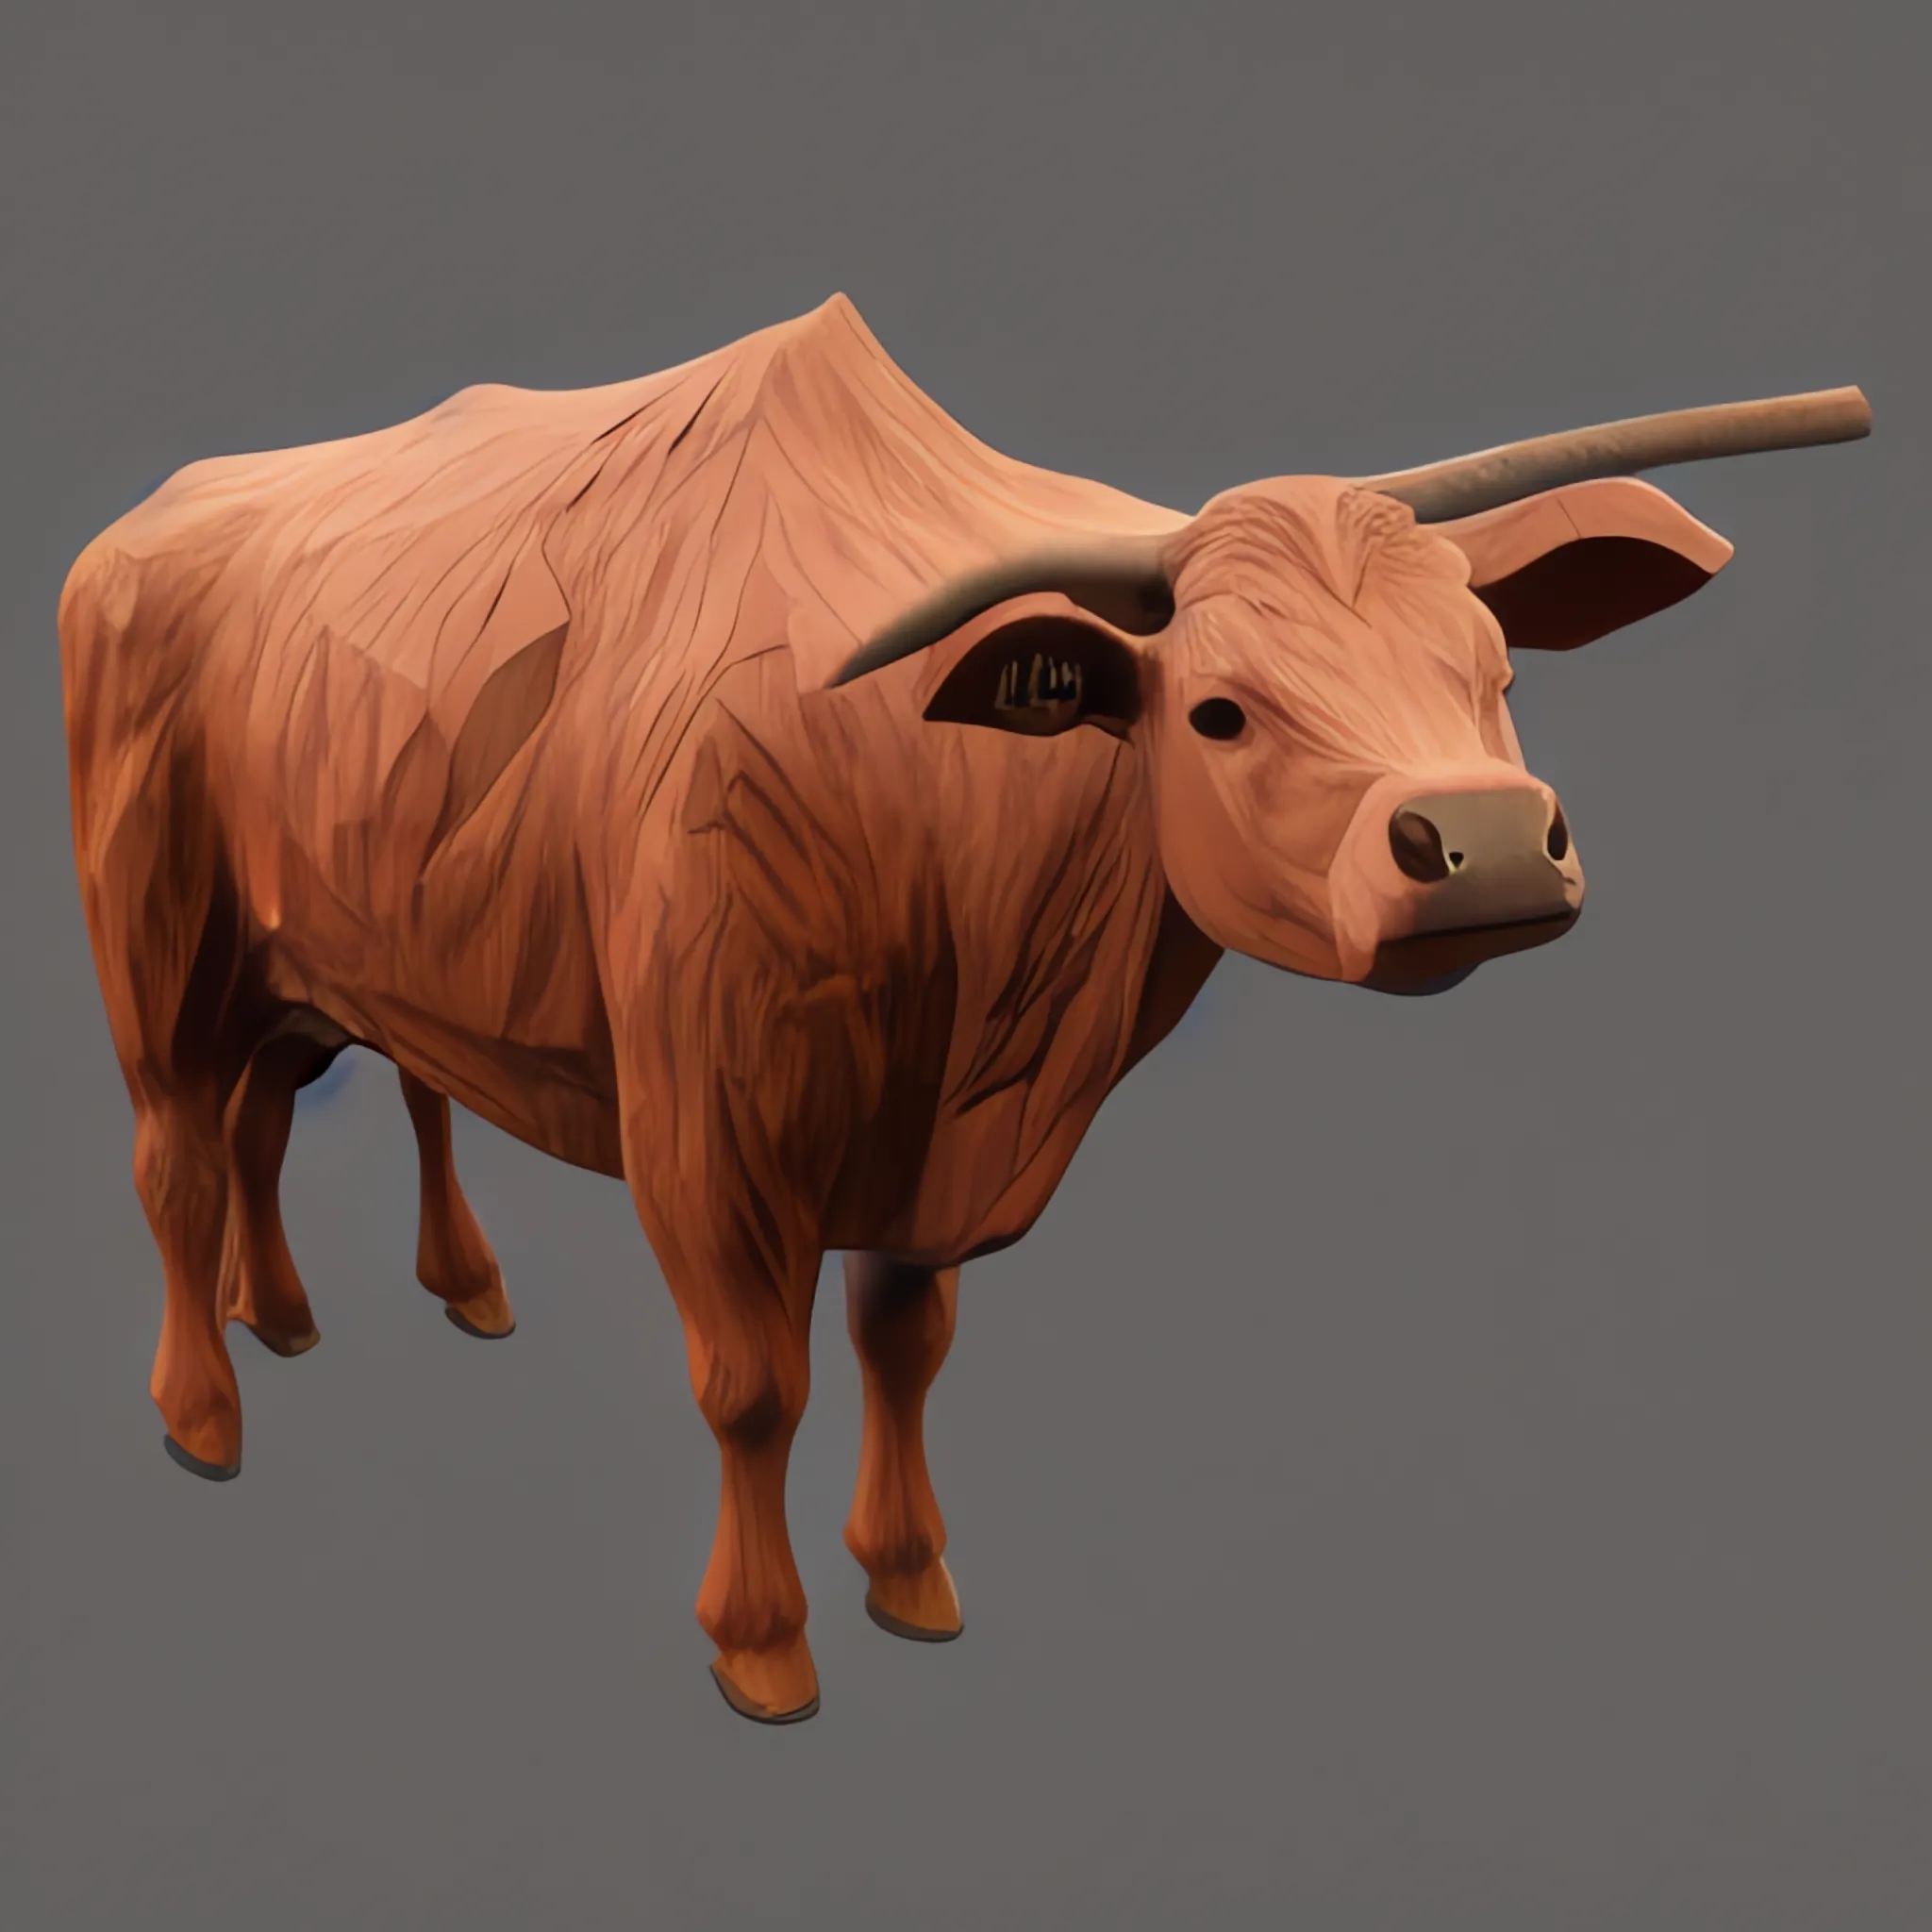
(Aside: the thumbnail image for this post that you see above was AI-generated by Stable Diffusion using the prompt: a cow carved out of wood, 3d render.)
New primitives
New cylinder and cone primitives were created.

The radius and height of the primitives can be adjusted to create a variety of shapes.


Reflections
This image shows reflections. The good ol’ “hallway of mirrors”…

This time, the ball itself is reflective, too.

Refraction
The following sequence shows a refractive pane of glass with progressively larger indices of refraction.
 Refraction index 1.0 - Light rays do not get bent at all.
 Refraction index 1.3
 Refraction index 1.5
 Refraction index 1.8
 Refraction index 2.0
 Refraction index 2.5
Texture mapping with images
Texture maps can be applied to all primitives except polygonal meshes.


Texture mapping with Perlin noise
Perlin noise functions create pseudorandom textures. The noise functions can be used to achieve many types of textures:
Pure noise
“Pure” noise gives a sort of dirty look to the texture. Different values for the persistence parameter achieves varying levels of noisiness.
 Persistence 0.2
 Persistence 0.5
 Persistence 0.8
I have implemented Perlin noise to allow flexibility in the colours that the texture is made of. Here is an example of using different colours:

Wood grain
Perlin noise can be used to generate wood grain textures. Wood textures work best with low values for persistence; otherwise, the grain is much too chaotic.
 Persistence 0.1
 Persistence 0.2
 Persistence 0.5 - It’s starting to get ugly
 Persistence 0.8 - Does not look like wood anymore
We can still specify colours for wood grain textures. So, it is possible to create this “psychedelic” wood:

Marble
Marble textures can be created with Perlin noise. Marble looks best with high values of persistence. Also, it looks most natural if the two colours of the texture are close in shade.
 Persistence 0.3 - This doesn’t look like marble yet
 Persistence 1.0 - Better
 Persistence 1.3 - (Arguably) better still
 Persistence 1.8 - Too chaotic
Perlin noise can be applied to all primitives, as demonstrated here.

It is very difficult to texture map an arbitrary 2-dimensional image to an arbitrary 3-dimensional shape. However, since Perlin noise is defined in 3 dimensions, it is possible to texture map complex polygonal meshes with noise. Here, we see a mesh model textured mapped with wood grain and marble textures.


Soft Shadows
Soft shadows can be created using area lights. Area lights can be partially blocked by objects, which gives the shadow a penumbra and umbra.
 For comparison, this is what a “hard” shadow looks like, as created by a single point light source.
Area lights are specified as an n x n array of lights. The larger the value of n, the better the shadow will look.
 2 × 2 area light
 5 × 5 area light
 10 × 10 area light
The size of the light can also be changed. Larger lights cast softer shadows, and smaller lights cast harder shadows.
 A small area light looks almost like a point light source.
 A large area light casts an extremely blurry shadow.
The size of the light can vary in either direction. Compare these two images: one is a “wide” light, and the other is a “tall” light.


Glossiness
Glossy reflections are accomplished by distributing a reflection among many reflection rays. The more reflection rays there are, the better the reflection will look.
 For comparison, this is a pure, non-glossy reflection.
The following sequence shows the effect of increasing the number of rays.
 2 reflection rays
 10 reflection rays
 50 reflection rays
We can control how scattered the reflection rays are. This is determined by the specular reflection coefficient of the material. The higher the specular coefficient, the sharper the reflection.
 Specular coefficient 10
 Specular coefficient 40
 Specular coefficient 70
 Specular coefficient 100
Final Scene
My final scene depicts a pool room. Texture mapping is used for most of the objects, most obviously on the walls, and in the painting. The frame of the table is texture-mapped with wood grain generated from Perlin noise. Notice also that the surface of the table is not completely uniform in colour; this was also accomplished with Perlin noise.

 Homemade texture for the balls
This is a close-up rendering of the table which more clearly displays the reflectiveness of the balls. Also, area lights were used to render this scene.